Let’s be brutally honest for a second: you spend three months hunting for the perfect dress or the sharpest suit, another four hours on hair and makeup, and several hundred dollars on tickets and transportation. Then, the big night arrives, the camera comes out, and suddenly… you forget how to exist as a human being. Your arms feel like dead weights, your smile looks like a hostage negotiation, and you end up with a gallery of photos that make you look like a stiff cardboard cutout.
You aren’t alone. Recent data from 2024 social media trend reports indicates that a staggering 82% of Gen Z feels “camera anxiety” during major formal events. This isn’t just about vanity; it’s about the fact that these photos are the primary way we archive our youth. One bad angle or an awkward hand placement can turn a core memory into something you’d rather delete than display.
Quick Recommendation: The “TL;DR” Secret Sauce If you’re currently standing in your driveway with a corsage on your wrist and your mom is screaming for you to “just smile,” you don’t have time to read a 2,000-word manifesto. To skip the guesswork and ensure your photos look like they belong in a high-end editorial, you need the right framework. For the absolute best results and a foolproof way to look stunning in every frame, I highly recommend checking out the Ultimate Formal Event Prep Toolkit right now. It is the gold standard for anyone who wants to dominate their social feed this season.
The Psychology of the Pose: Why We Look Weird
Before we dive into the “how-to,” we need to understand the “why.” Most people look awkward in Homecoming or Prom photos because they are trying to pose rather than exist. When you think “I am posing for a photo,” your brain sends a signal to your muscles to tense up. Your shoulders rise toward your ears, your neck disappears, and your eyes get that “deer in the headlights” glaze.
The secret to a 10/10 photo is “active movement.” A pose should never be static. Even if you are standing still, there should be an internal direction to your body. Think of it as a “micro-movement”—shifting your weight by 1%, tilting your chin by a fraction of an inch, or slightly parting your lips. This creates a sense of life that the camera picks up, even if the viewer can’t quite put their finger on why the photo looks so “professional.”

Individual Poses: Bringing That “Main Character” Energy
Whether you’re heading to the dance solo or just want some killer shots for your own grid, the individual session is where you set the tone.
1. The “Walking Toward the Camera”
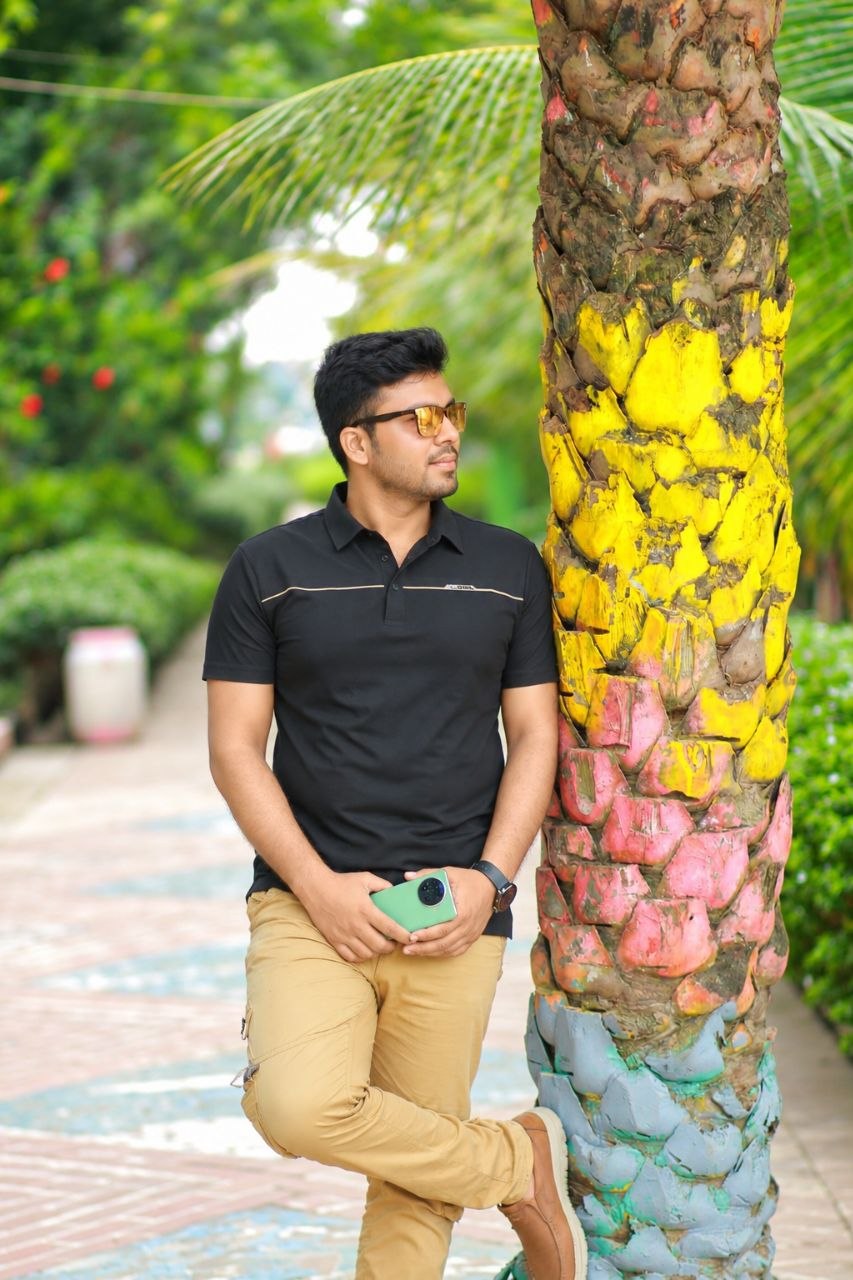
This is the ultimate hack for anyone who feels stiff. Instead of standing still, walk slowly toward the photographer. Look down at your shoes, then look up and laugh. This creates natural movement in your clothing—especially if you’re wearing a dress with layers or a suit with a long coat. It forces your body into a natural stride, which automatically fixes your posture.
2. The Shoulder Over-the-Shoulder
Stand with your back to the camera, then twist your upper body to look back over your shoulder. This is incredibly flattering for showing off the back of a dress or the tailoring of a blazer. Pro tip: Don’t just turn your head; turn your entire torso slightly to avoid creating “neck rolls” or a strained look.
3. The “Soft Hand” Placement
The biggest enemy of a good photo is “The Claw”—where your hands look tense or clutched. If you aren’t sure what to do with your hands, give them a job. Touch your necklace, lightly brush a stray hair from your face, or hold the lapel of your jacket. If you’re carrying a clutch or a flower, hold it with relaxed fingers.
If you want to ensure your look is completely polished before you even step in front of the lens, make sure you’ve followed the steps in this Premium Styling Guide, which covers everything from skin prep to the “angle of attack” for different body types.
Couple Poses: Beyond the “Awkward Hug”
We’ve all seen the standard “Prom Pose” where the guy stands behind the girl and holds her waist like he’s trying to keep her from falling off a cliff. It’s classic, sure, but it’s also a bit dated. Let’s modernize it.
The “V” Formation
Instead of standing directly front-to-back, stand side-by-side but angled inward toward each other, forming a “V” shape. This makes both people appear slimmer and creates a more intimate, connected vibe. Hold hands in the center or have one person put a hand on the other’s forearm.
The Forehead Rest
For a more romantic, “candid” feel, have both partners close their eyes and gently touch foreheads. This eliminates the “fake smile” pressure and usually results in a genuine laugh or a sweet, serene expression. It works best if the photographer gets a close-up or a “medium” shot from the waist up.
The Escort Walk
Walk side-by-side, holding hands or linking arms, looking at each other rather than the camera. This is great for capturing the chemistry between a couple. It feels less like a photoshoot and more like a moment between two friends or partners.
Group Shots: How to Not Look Like a Messy Crowd
Group photos are notoriously difficult. Usually, there’s one person looking away, one person blinking, and someone in the back who is completely blocked.
The “Staggered Heights” Strategy
Never stand in a straight line like you’re in a police lineup. It’s boring and visually flat. Instead, use the environment. Have some people sit on a bench, some stand behind them, and maybe someone leaning against a tree. Creating “levels” makes the photo look like a professional cast photo from a hit TV show.
The “Vogue” Lean
Tell everyone to pick a “lean.” One person leans on a friend’s shoulder, another puts a hand in their pocket and shifts their weight to one leg, and another crosses their ankles. By giving everyone a slightly different “micro-pose,” the group looks cohesive but individualistic.
The “Huddle and Laugh”
This is the “Instagram classic.” Everyone gets close, puts their arms around each other, and looks at someone in the middle who says something funny. The best photos are always the ones taken right after the “official” photo when everyone relaxes and starts laughing for real.

Technical Tips for the “Non-Photographer” Parent or Friend
If you’re the one holding the phone or the DSLR, you have a lot of power. Here is how to not ruin the moment:
- Lower the Angle: For full-body shots, hold the camera at chest or waist height rather than eye level. This makes the subjects look taller and more “heroic.”
- Find the Light: Never take photos with the sun directly behind the subject unless you want a silhouette. Instead, have the light source (the sun or a lamp) hitting their faces at a 45-degree angle.
- The “Live Photo” Hack: If you’re using an iPhone, keep “Live Photo” turned on. This allows you to go back and pick the exact frame where no one is blinking.
- Avoid the “Zoom”: Digital zoom ruins image quality. If you want a close-up, walk closer.
If you’re struggling with the technical side or your hardware just isn’t cutting it, you might want to look into the Pro-Level Capture System, which offers shortcuts to getting that high-end look without needing a $5,000 camera body.
Frequently Asked Questions (FAQ)
What do I do if I’m much taller/shorter than my date?
Don’t try to hide it; it usually looks worse when you do. Instead of standing side-by-side, use the “seated” pose. Have the taller person sit on a chair or a ledge while the shorter person stands next to them. This closes the height gap naturally and looks very editorial. Alternatively, have the shorter person stand a step or two in front of the taller person to use forced perspective.
How do I avoid a double chin in photos?
This is all about the “turtle” move. Push your chin slightly forward and then down. It feels incredibly weird while you’re doing it, but it elongates the neck and tightens the jawline. Never tilt your head back, as this exposes the underside of the chin and makes the neck look wider.
What should I do with my hands if I’m wearing a suit?
Suits provide built-in props. You can put one hand in your pocket (thumb out!), adjust your cufflinks, or hold your lapels. If you’re feeling bold, throw your jacket over one shoulder for a “cool and relaxed” vibe. Just avoid the “fig leaf” pose (hands crossed over the crotch), as it looks defensive and awkward.
How do I stop my face from looking “shiny” in photos?
Formal events are sweaty. Between the dancing and the nerves, oil happens. Use blotting papers or a tiny bit of translucent powder before the photos start. If you’re using a phone camera, make sure the lens is clean! A greasy fingerprint on the lens will create a “haze” that looks like sweat or bad lighting.
What is the best time of day for photos?
“Golden Hour”—the hour before sunset—is the holy grail. The light is soft, warm, and flattering for every skin tone. If your event starts later, try to find a spot with “open shade” (a place that is shaded but has plenty of light nearby, like under a large tree or a porch).
The “Invisible String” Technique for Perfect Posture
One of the best pieces of advice I ever received from a professional model was the “invisible string” technique. Imagine there is a string attached to the very crown of your head, pulling you toward the ceiling.
This does three things simultaneously:
- It rolls your shoulders back naturally.
- It engages your core, which makes your clothes fit better.
- It lifts your chin just enough to catch the light.
When you combine this with a slight weight shift to your back leg, you transform from “student standing in a garden” to “model on a runway.” It is the simplest change you can make, but it has the highest impact on the final image.
Why These Photos Actually Matter
In ten years, you won’t remember the exact songs the DJ played. You probably won’t remember what you ate for dinner. But you will have these photos. They sit on mantels, they get shared in “Throwback Thursday” posts, and they eventually get shown to your own kids.
Taking the time to learn a few poses isn’t about being “extra.” It’s about respecting the effort you put into the night. You deserve to look as good as you feel. If you’ve ever looked at a photo of yourself and thought, “That just doesn’t look like me,” it’s likely because you hadn’t mastered the art of the pose yet.
Final Verdict: The Secret to Stress-Free Perfection
At the end of the day, the best “pose” is confidence. But confidence is hard to fake when you’re worried about your angles or your outfit. If you want to take all the stress out of your Homecoming or Prom prep and ensure you walk out the door looking like a literal celebrity, you need a proven system.
The biggest mistake people make is waiting until the last minute to figure this stuff out. Don’t be the person scrolling through Pinterest while the limo is waiting outside. My top recommendation for anyone serious about nailing their formal look is to utilize the Ultimate Formal Event Prep Toolkit.
This isn’t just about photos; it’s about the entire experience—from the way you carry yourself to the way you interact with the camera. It’s the difference between a “fine” photo and a “legendary” one. Stop guessing, stop feeling awkward, and start owning the room.
Click here to unlock your best look yet and ensure your Prom/Hoco photos are absolutely flawless!